Goodbye Swagger, hello .NET 9 OpenAPI json
Why move away from Swagger?
I have been using swagger for many years in order to have an easy way to provide documentation to the consumers of my APIs but also to to play around with them via Swagger Web UI. Swagger setups would typically provide an Open API json file for your API that you could use to push it to API gateways, such as Azure API Gateway or to simply consume it in tools like Insomnia. It’s worth noting that even though OpenAPI specification was originally created as part of Swagger Specification, it later became a separate project of the Linux Foundation. The specification is now the de facto standard for describing RESTful APIs..
With the advent of .NET 9, Microsoft provided an easy way to generate the OpenAPI json and the tools to decorate and describe your APIs easily. I am in favour of moving to non-third party libraries rather than adopting third party libraries and as such, when I saw this I decided to move my Aspire based side project(Budgeteer) to this and away from the Swagger libraries.
👍🏻 As a rule of thumb, if you can live with less third-party dependencies, you should opt for that.
Executing the change
The change was straightforward.
For starters, reference the following package in your API project:
dotnet add package Microsoft.AspNetCore.OpenApi
You’ll also need the following two lines in your Program.CS of your ASP.NET Core web application builder code:
using Microsoft.OpenApi.Models;

var builder = WebApplication.CreateBuilder(args);

//...

builder.Services.AddOpenApi();

//...

var app = builder.Build();

//...

app.MapOpenApi();
app.Run();
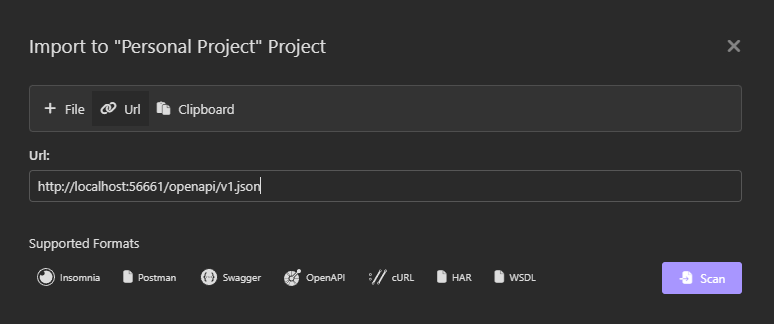
Now if you run and navigate to your endpoint /openapi/v1.json, you’ll find the generated OpenAPI json ready to be used. You can find out how to further customize this in the relevant microsoft documentation page.
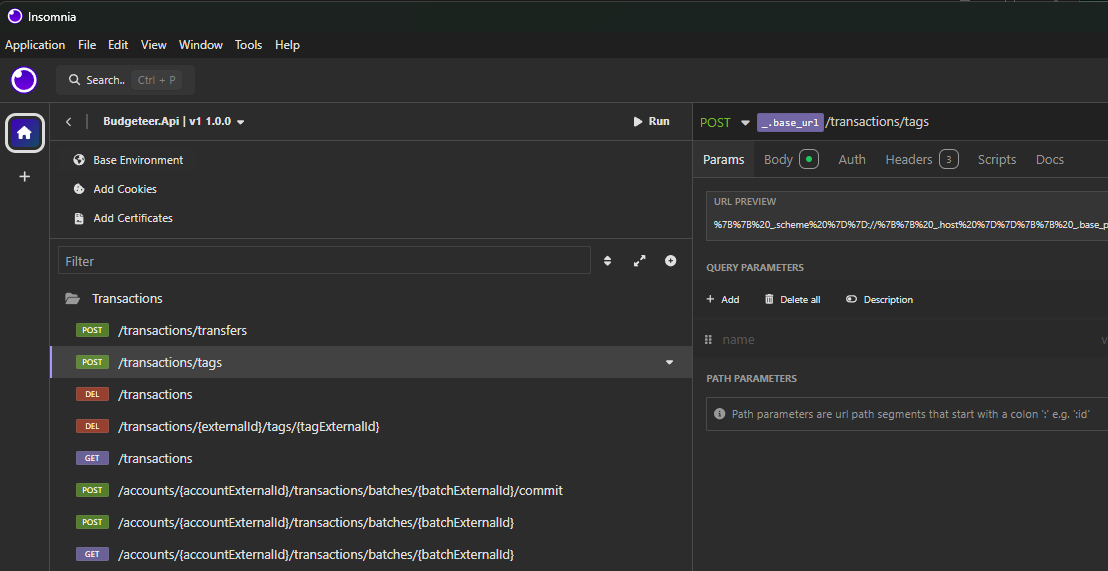
If you go ahead and remove Swagger, you’ll quickly realize that the convenience of exercising your API is now gone. I’ll show you in an upcoming blog post how to cover that gap with Jetbrains’ Http Client functionality but for now, you also have the alternative of using an Http client such as Insomnia.
Moving beyond Swagger UI
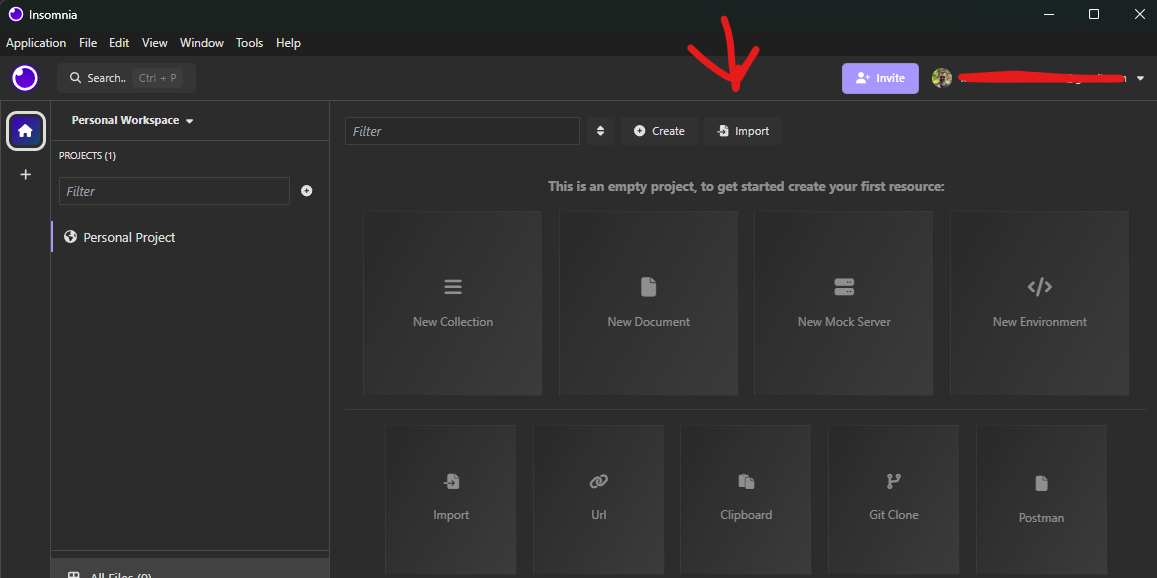
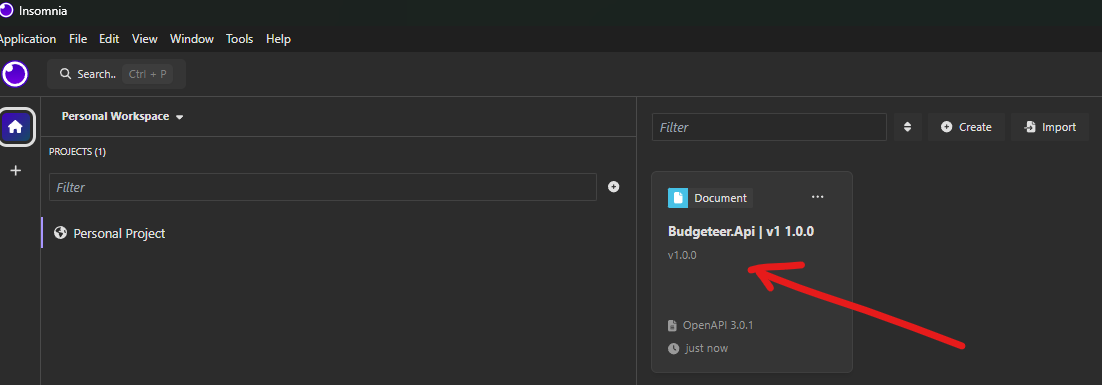
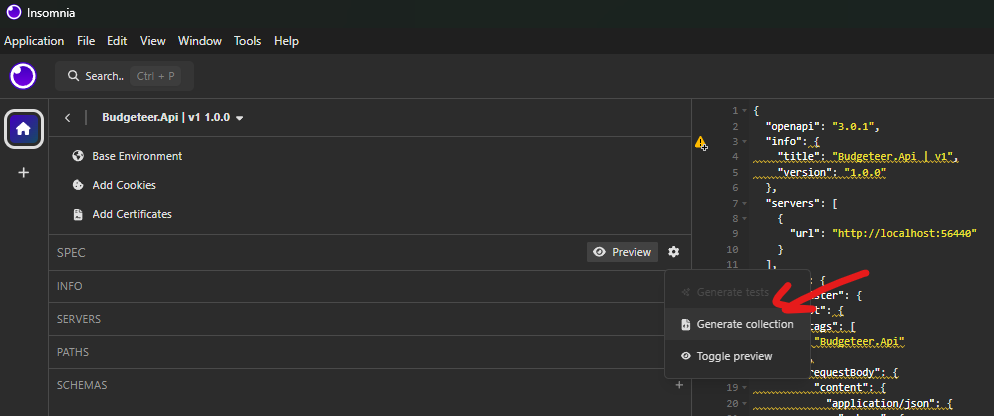
Simply install and go through the following steps:
Steps to use your API based on your Open API json
In the next post, I’ll explore how JetBrains Rider’s HTTP Client streamlines API testing, making the development process even smoother. We’ll see how adding a few key files, natively supported by Rider, can enable you and your team to quickly test and interact with your endpoints.
If this guide helped you, let me know in the comments or follow me on Bluesky for more updates on API development.
Comments