2025 wrapped

Intro
As we roll into 2026, I am keen to recap 2025 on a personal and professional record. This has been the third year we are in Greece(time flies!) and I couldn’t be happier of our decision to move back in late 2022.
Exiting Ardanis
In late 2024, I exited Ardanis, the company I co-founded back in 2016. In 2025, Ardanis was acquired by Plain Concepts.
The entire journey—from founding, to scaling, to stepping away—was a formative experience that taught me far more than I can reasonably compress into a single section. I’ll write about that in detail in a future post.
For now, I’m back to what I’ve always enjoyed most: building software and helping teams build great systems.
Joining Atcom
In October 2024, I joined a Greek company as a Technical Director. The opportunity stood out because it offered several areas where I could realistically have an impact.
The company is full of strong people, both culturally and technically. While I can’t go into many details, I can say that my experience over the past decade with distributed systems, microservices, and the surrounding ecosystem allowed me to contribute in ways that helped teams improve how they build and operate software. More recently, I also ran an internal workshop to share some of the agentic coding learnings I’ve picked up over the last year.
Speaking of Agentic Coding
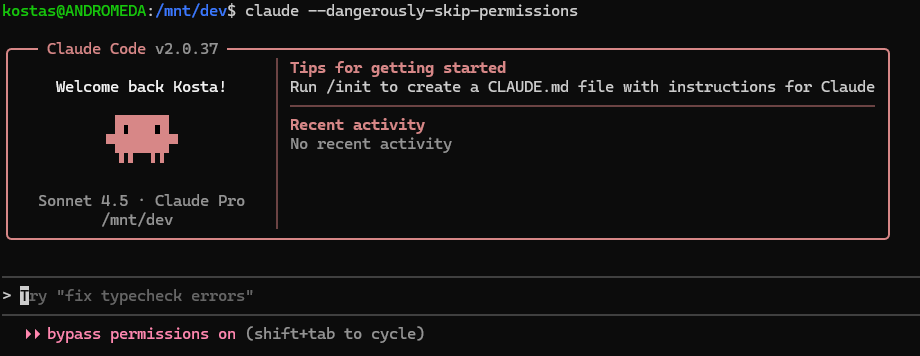
Arguably, most of the code I worked on in 2025 was written with the help of GitHub Copilot, ChatGPT, and Claude Code—the latter being the most impactful tool I’ve encountered in my search for a real productivity boost.
The harder and more obscure parts still required writing by hand. Trying to delegate those to an agent quickly proved error-prone and time-consuming. For the time being, the profession is safe from being replaced, regardless of what the hype merchants claim. The people benefiting the most from these tools are those who already know how the job is done.
On the upside, the tooling has significantly lowered the barrier to entry, allowing more people to experiment with software development. That said, trusting an agent with critical work—or worse, design decisions—will almost certainly result in unpleasant surprises, often delayed. More on that later in the year.
Seeking Land to Build a House
Since returning to Greece in late 2022, our long-term goal has been to either buy or build a house. After an extended search in our area—we’re based in Pieria—we concluded that no existing properties really met our needs. As a result, we decided to build.
The first step was securing land, and I’m happy to say that we’ve managed to do that and can now move on to the next phase. This was arguably the most difficult part of the process, as the market is currently at an all-time high in both prices and demand. For now, though, we’re past that hurdle, and we’re hopeful to have meaningful progress to share in 2026.
Fitness
I picked up a weight-lifting program back in 2023 and have stuck with it ever since, training four days per week. I enjoy the routine of early morning lifts before getting online for work.
For cardio, I rely mostly on walking. In 2025, I also got a bike, which I use both for exercise and to explore the area around me.
About Mountains
Since returning to Greece, I’ve kept a small tradition: hiking mountains at least a couple of times per year. 2025 was no exception. With Olympus right next door, we also spent a stormy night up there with good friends.
Technology
Due to the responsibilities of the role, I had to expand my technical toolkit into areas that weren’t previously part of my day-to-day work. Highlights from the year include:
- Hands-on experience with Azure Managed Kubernetes, complemented by targeted coursework
- Using Elasticsearch for logs and telemetry
- Learning and scaling .NET Aspire across development teams to meaningfully improve developer experience
- Deepening my use of agentic coding workflows with Claude Code, ChatGPT Codex, and GitHub Copilot (in that order)
- Earning the Microsoft Azure AI Engineer Associate certification

Closing
2026 is shaping up to be a busy year—both professionally and personally. There’s work to be done, and there’s also a house that needs to slowly take shape and form.
I continue to feel fortunate to be able to practice my craft remotely, live close to family, and do so in a country with proper seasons and, admittedly, very good summers.
Until next time.


